[안드로이드] 이미지 회전하기
안드로이드에서 이미지를 호출하여 회전하는 방법을 소개한다.
해당 소스코드는 직접작성한 것은 아니고, anddev.org 사이트에서 검색해서 얻은 결과이다.
매트릭스를 이용하여 이미지를 회전시키고 있다.
아래를 참조해 보세요.
package com.google.android.bmptest;
import android.app.Activity;
import android.os.Bundle;
import android.widget.*;
import android.graphics.*;
import android.graphics.drawable.*;
import android.view.*;
public class bmptest extends Activity {
/** Called when the activity is first created. */
@Override
public void onCreate(Bundle icicle) {
super.onCreate(icicle);
LinearLayout linLayout = new LinearLayout(this);
// load the origial BitMap (500 x 500 px)
Bitmap bitmapOrg = BitmapFactory.decodeResource(getResources(),
R.drawable.fedor); //미리 해당 폴더에 이미지 파일이 있어야 한다. fedor.jpg
int width = bitmapOrg.getWidth();
int height = bitmapOrg.getHeight();
int newWidth = 200;
int newHeight = 200;
// calculate the scale - in this case = 0.4f
float scaleWidth = ((float) newWidth) / width;
float scaleHeight = ((float) newHeight) / height;
// create a matrix for the manipulation
Matrix matrix = new Matrix();
// resize the bit map
matrix.postScale(scaleWidth, scaleHeight);
// rotate the Bitmap
matrix.postRotate(45);
// recreate the new Bitmap
Bitmap resizedBitmap = Bitmap.createBitmap(bitmapOrg, 0, 0,
width, height, matrix, true);
// make a Drawable from Bitmap to allow to set the BitMap
// to the ImageView, ImageButton or what ever
BitmapDrawable bmd = new BitmapDrawable(resizedBitmap);
ImageView imageView = new ImageView(this);
// set the Drawable on the ImageView
imageView.setImageDrawable(bmd);
// center the Image
imageView.setScaleType(ImageView.ScaleType.CENTER);
// add ImageView to the Layout
linLayout.addView(imageView,
new LinearLayout.LayoutParams(
LinearLayout.LayoutParams.FILL_PARENT, LinearLayout.LayoutParams.FILL_PARENT
)
);
// set LinearLayout as ContentView
setContentView(linLayout);
}
}
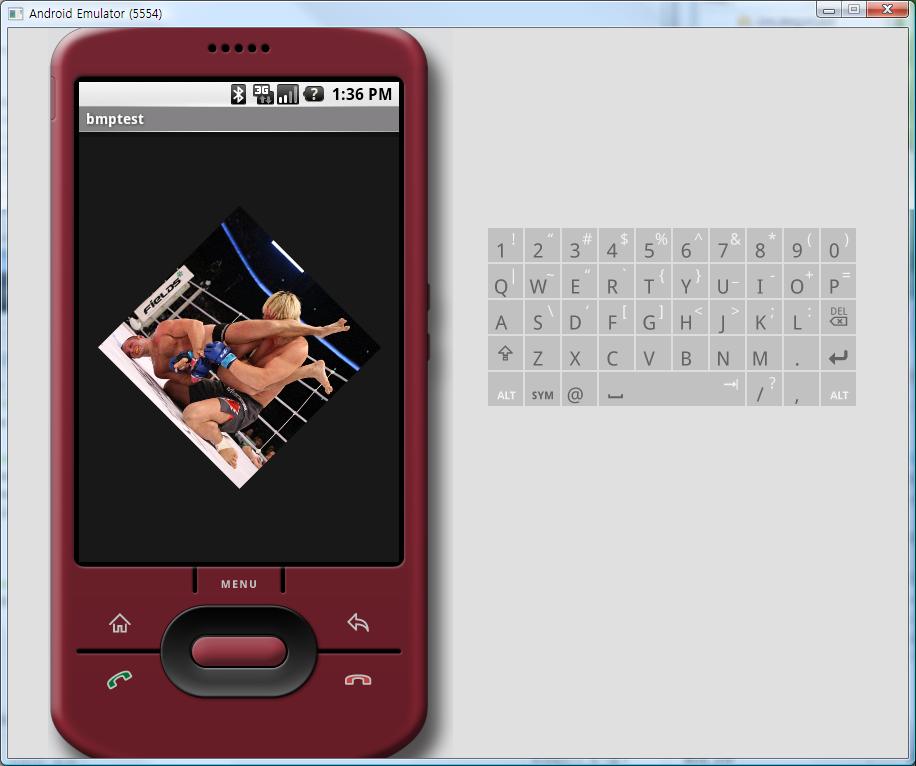
결과는 아래와 같다.