'Interesting'에 해당되는 글 192

  1. 2008.11.25 [g-speak] 마이너리티 리포트의 GUI
  2. 2008.11.19 [Android]이미지 회전하기 2
  3. 2008.11.18 [Android]BMP 파일 표시하기
Interesting/Interface | Posted by hyena0 2008. 11. 25. 19:54

[g-speak] 마이너리티 리포트의 GUI


[g-speak]

마이너리티 리포트에서 보았던 화면에서 장갑을 끼고 영상을 이러저리 돌리던 GUI를 구현해 놓은 동영상이 있어서 소개한다. g-speak 라고 불리는 이것은 3차원 공간에서 화면을 보며 영상을 이리저리 조종할 수 있다.

상상을 구현한 것이라고 하겠다. 추측해본다면 장갑에는 센서가 있을 것으로 추측되는데, 센서가 없더라도 장갑에 표시된 어떤 점으로 인해 카메라가 인식하여 공간을 인식할 것이다. 이런 인터랙티브 UI가 더 많이 나올 것으로 추측된다.


Interesting/ANDROID | Posted by hyena0 2008. 11. 19. 01:25

[Android]이미지 회전하기


[안드로이드] 이미지 회전하기

안드로이드에서 이미지를 호출하여 회전하는 방법을 소개한다.
해당 소스코드는 직접작성한 것은 아니고, anddev.org 사이트에서 검색해서 얻은 결과이다.
매트릭스를 이용하여 이미지를 회전시키고 있다.

아래를 참조해 보세요.

package com.google.android.bmptest;

import android.app.Activity;
import android.os.Bundle;
import android.widget.*;
import android.graphics.*;
import android.graphics.drawable.*;
import android.view.*;

public class bmptest extends Activity {
    /** Called when the activity is first created. */
    @Override
    public void onCreate(Bundle icicle) {
        super.onCreate(icicle);
        LinearLayout linLayout = new LinearLayout(this);

        // load the origial BitMap (500 x 500 px)
        Bitmap bitmapOrg = BitmapFactory.decodeResource(getResources(),
               R.drawable.fedor); //미리 해당 폴더에 이미지 파일이 있어야 한다. fedor.jpg
      
        int width = bitmapOrg.getWidth();
        int height = bitmapOrg.getHeight();
        int newWidth = 200;
        int newHeight = 200;
       
        // calculate the scale - in this case = 0.4f
        float scaleWidth = ((float) newWidth) / width;
        float scaleHeight = ((float) newHeight) / height;
       
        // create a matrix for the manipulation
        Matrix matrix = new Matrix();
        // resize the bit map
        matrix.postScale(scaleWidth, scaleHeight);
        // rotate the Bitmap
        matrix.postRotate(45); 
        
        // recreate the new Bitmap
        Bitmap resizedBitmap = Bitmap.createBitmap(bitmapOrg, 0, 0,
                          width, height, matrix, true);
   
        // make a Drawable from Bitmap to allow to set the BitMap
        // to the ImageView, ImageButton or what ever

        BitmapDrawable bmd = new BitmapDrawable(resizedBitmap);
       
        ImageView imageView = new ImageView(this);
       
        // set the Drawable on the ImageView
        imageView.setImageDrawable(bmd);
     
        // center the Image
        imageView.setScaleType(ImageView.ScaleType.CENTER);
            
        // add ImageView to the Layout
        linLayout.addView(imageView,
          new LinearLayout.LayoutParams(
                      LinearLayout.LayoutParams.FILL_PARENT, LinearLayout.LayoutParams.FILL_PARENT
                )
        );
       
        // set LinearLayout as ContentView
        setContentView(linLayout);
    }
}

결과는 아래와 같다.

Interesting/ANDROID | Posted by hyena0 2008. 11. 18. 00:27

[Android]BMP 파일 표시하기


BMP 파일 표시하기[1]

BMP 파일, 즉 Bitmap 을 표시하기 위해서 Google 안드로이드에서 많은 함수들이 제공된다. 그에 따라 여러가지 방법으로 이미지를 표시할 수 있다.

이미지 처리를 안드로이드에서 구현해 보기 위해 여러 과정을 거쳐 볼 계획이다. 

그래서 BMP 파일을 표시하는 방법을 몇가지 알아보고자 한다. 우선은 CreatBitmap 을 이용하는 방법을 이용해 보고자 한다. 이 예제는 SDK v1.0에 sample 예제의 CreatBitmap.java를 활용한 것이다.

여러번의 삽질 후에 가능한 최소한의 방법으로 BMP 파일을 표시할 수 있는 방법을 강구해 보았다.

내용은 BMP 파일을 호출해서 화면에 표시하는 것이다.
소스코드는 아래와 같다.

package com.google.android.bmp2;

import android.app.Activity;
import android.os.Bundle;
import android.content.Context;
import android.graphics.*;
import android.view.*;
import java.io.*;

import com.google.android.bmptest.R;

public class bmp2 extends Activity {
    /** Activity가 처음생성될 때 호출되는 부분. */
    @Override
    protected void onCreate(Bundle savedInstanceState) {
        super.onCreate(savedInstanceState);
        setContentView(new SampleView(this)); //SampleView를 보여줄 것이다.
    }
    
    public int WW,HH,SSTT; //Bitmap을 표시할 너비(WW),높이(HH),Stride(SSTT) 를 각각 나타낸다.
    
    private int[] createColors() {
     int W,H,ST;
     Bitmap bitmapOrg = BitmapFactory.decodeResource(getResources(),
                R.drawable.fedor);//resource 밑에 drawable 폴더아래에 fedor 파일을 미리 넣어놓았다.
     //bitmapOrg에서 높이와 너비를 각각 구한다.
     H=bitmapOrg.getHeight();
     W=bitmapOrg.getWidth();
     ST = W+10;//너비보다 10크게 설정
     //transfer to public value
     HH=H;WW=W;SSTT=ST; //creatColors 함수에서 내부변수값을 외부변수로 저장한다.
     
     int[] colors = new int[ST * H]; //컬러 어레이를 생성 초기화
        
        for (int y = 0; y < H; y++) {
            for (int x = 0; x < W; x++) {
             colors[y * ST + x] = bitmapOrg.getPixel(x, y);
             //컬러 어레이에는 원본 파일의 각 픽셀 값을 가져와서 차례로 넣는다.
            }
        }
        return colors; // 컬러 어레이를 반환한다.
    }
       
    private class SampleView extends View {
        private Bitmap[] mBitmaps;
        private int[]    mColors;
        private Paint    mPaint;
       
        public SampleView(Context context) {
            super(context);
            setFocusable(true);
           
            mColors = createColors();
            int[] colors = mColors;

            mBitmaps = new Bitmap[6]; //비트맵 초기화
            mBitmaps[0] = Bitmap.createBitmap(colors, 0, SSTT,WW,HH,
                                               Bitmap.Config.ARGB_8888);
                       //createBitmap 을 파일 설명을 참조할 것 -> 사실 이부분은 별 참조할 게 없다.
            mPaint = new Paint(); //페인트 초기화
            mPaint.setDither(true);
           
        }
       
        @Override protected void onDraw(Canvas canvas) {
            canvas.drawColor(Color.WHITE);

            canvas.drawBitmap(mBitmaps[0], 0, 0, null);//비트맵 그리기
            canvas.translate(0, mBitmaps[0].getHeight());
           
        }
    }
}

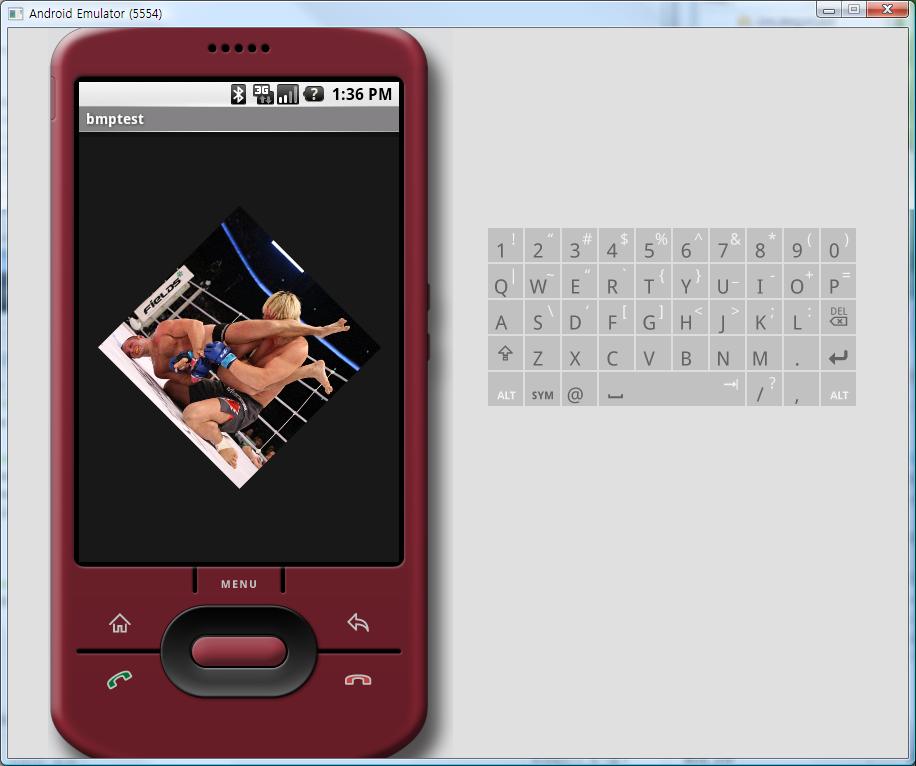
결과값은 아래와 같다. (사진은 표도르가 최홍만에게 암바를 거는 장면인데, 최홍만에게는 미안하지만 역동적인 사진이라 개인적으로 좋아하는 것 중에 하나다.)
다만 비트맵 파일의 크기가 화면보다 큰 경우는 화면의 위치를 넘어가게 되는데, 이부분의 스크롤 처리, 확대 방법등을 다음번에 다뤄보겠다.