[Android] 이미지 마스크 처리 - 엠보싱 효과
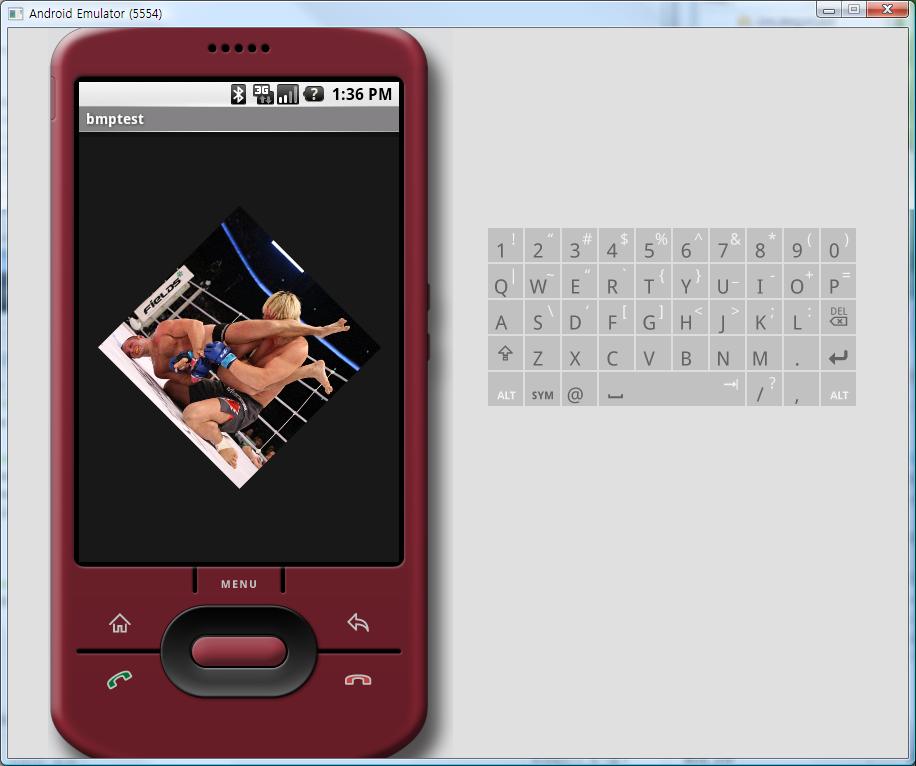
사진을 표시하는 예제는 앞에서 해보았다.
이 예제를 바탕으로 마스크 처리를 통해 이미지가 어떻게 변화되는지, 어떻게 처리할 것인지 고민해 보려고 한다.
앞서 봤듯이 안드로이드에서 BMP 처리가 1차원 배열로 되어 있으므로 평면 계산을 2차원으로 바꾸어도 되지만, 시간지연이 많이 발생하므로 1차원을 2차원으로 고려하여 미리 계산해 수식을 만들어 놓고 프로세싱되도록 구현하였다.
자세한 내용은 다음 포스팅에 하기로 하고 주요 코드는 아래와 같다.
private int[] maskColors(Bitmap bitmapO) {
int W,H,ST;
//get Height and Width
H=bitmapO.getHeight();
W=bitmapO.getWidth();
ST = W;
int[] colors = new int[ST * H];
int avrColor=0;
//embossing 효과
//45도 {0,0,-1,0,0,0,1,0,0}
//90도 {0,-1,0,0,0,0,0,1,0}
//135도{-1,0,0,0,0,0,0,0,1}
int[] masks = {-1,0,0,0,0,0,0,0,1};
//Mask height, width
int Mh = 3; int Mw =3;
int var =0;//MASK 계산될 색의 픽셀값
//get bitmap color
for (int y = 0; y < H; y++) {
for (int x = 0; x < W; x++) {
colors[y * ST + x] = bitmapO.getPixel(x, y);
}
}
//calc. average value of colors
for (int i=0;i<H*W;i++){
avrColor += colors[i];
}
avrColor /= H*W;
//mask the color
//i는 계산될 높이 계산될 폭만큼의 반복범위임
for (int i=0;i<(H-Mh)*(W-Mw);i++){
//mask 계산
var = colors[i]*masks[0] + colors[i+1]*masks[1] + colors[i+2]*masks[2]
+colors[W+i]*masks[3] + colors[W+i+1]*masks[4] + colors[W+i+2]*masks[5]
+colors[(W+1)+i]*masks[6]+ colors[(W+1)+i+1]*masks[7]+ colors[(W+1)+i+2]*masks[8];
var +=avrColor; //마스크 값에 색의 평균값을 더함
colors[i]=var; //계산된 마스크 값을 픽셀값으로 저장함
var =0;//var 초기화
}
return colors;
}
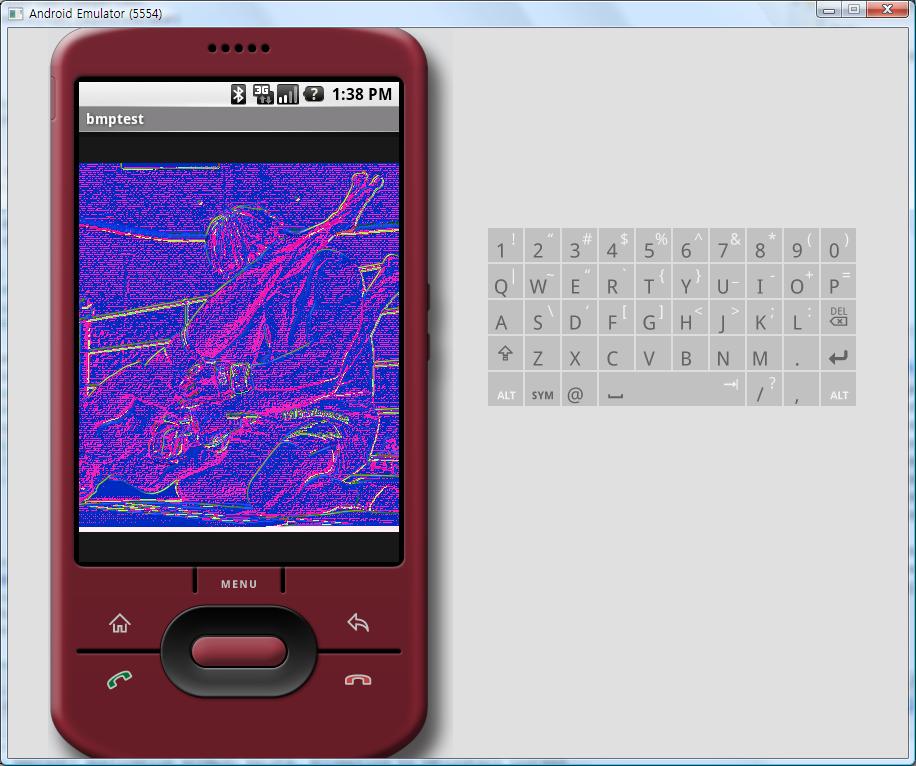
해당 maskColors 함수를 Activity에서 호출하여 BMP 객체를 생성하여 넣어주면 아래와 같은 결과를 얻을 수 있다.
<<135도 엠보싱>>
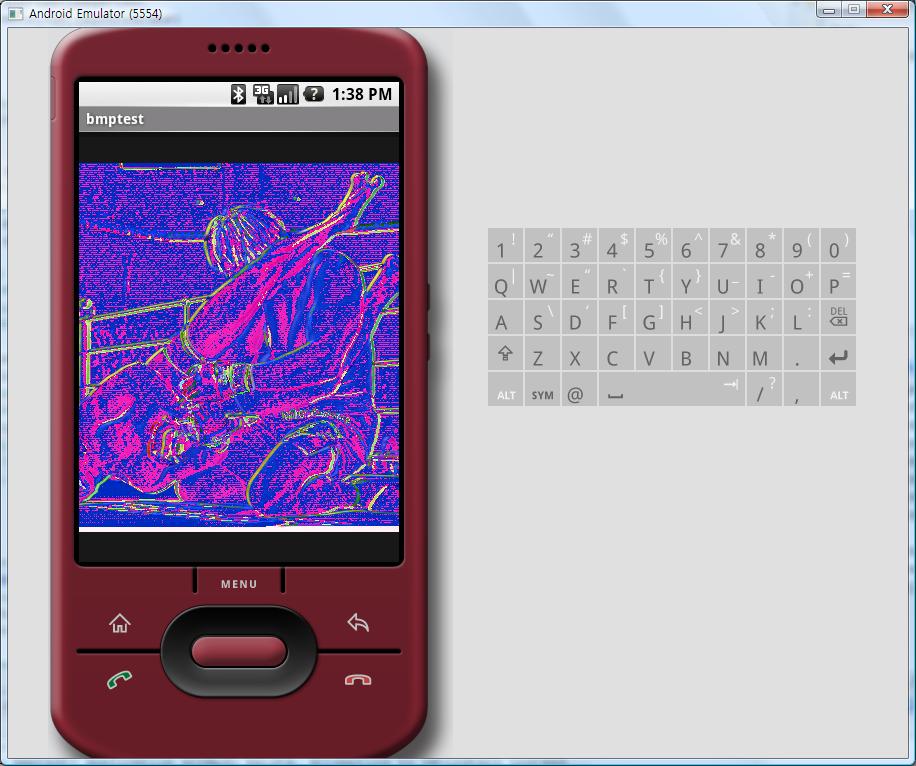
<<90도 엠보싱>>
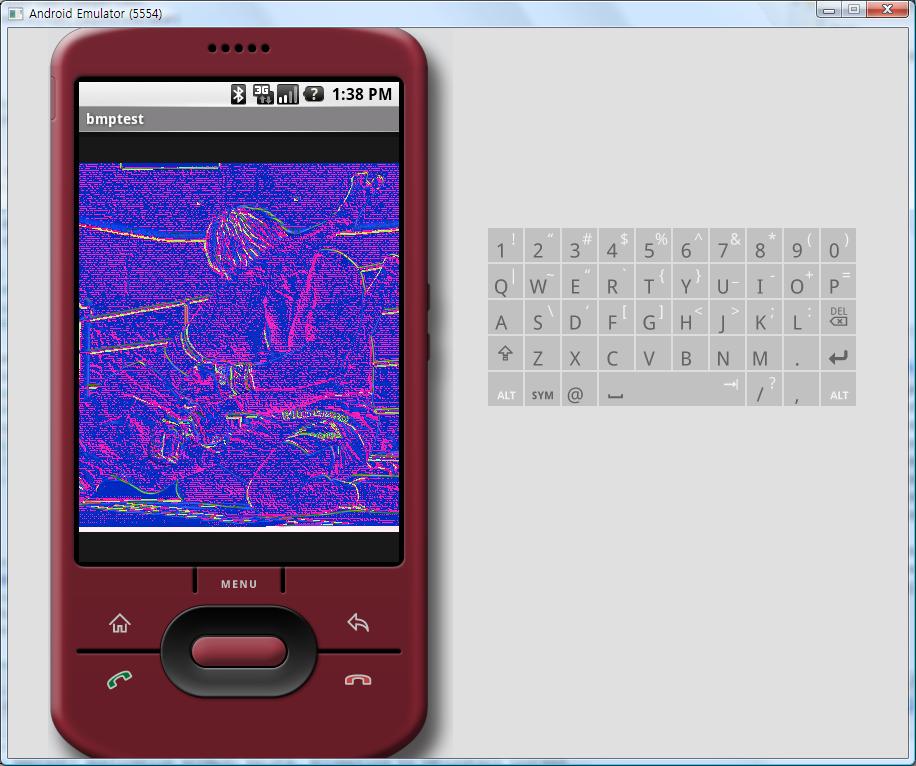
<<45도 엠보싱>>